Yes, It's a Holiday - National Camera Day
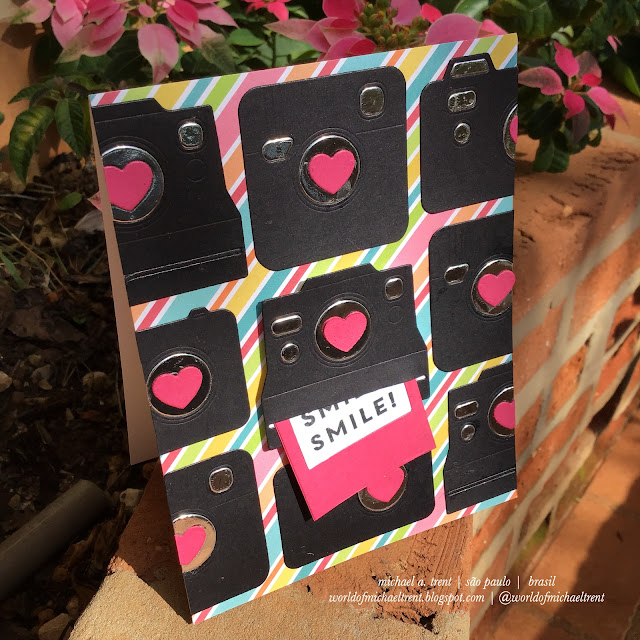
Hello everyone and welcome to another "Yes, It is a Holiday" or "Yes, It's a Holiday" blog post. Today, the holiday crew - Debra, Lori, and myself, are celebrating National Camera Day , a day to celebrate the fact that photography, once so complicated and expensive, is now part of almost all of our everyday lives. Did you know that the word "photography" is based on two Greek words that, when put together, mean "writing with light"? I didn't. As an avid photographer, I have many stamps, dies, and papers related to photography and photos and had to take part in today's holiday. So, to help celebrate I made this fun card using a few RETIRED products from MFT Stamps/Die-Namics - Die-namics Cute Cameras 2, Die-namics Precious Polaroids, and Picture This Stamp Set. Maybe one day they will re-release them. I made a top-folding A2 card base of white cardstock to which I adhered a piece of decorative paper from my st...

.png)


