TIC "CAT" TOE | "Cat" Checkers | "Cat"Gammon | Technique Junkies Board Game Ideas
Now come join me down the rabbit hole of my creative brain.
First, we need a bunch of cats for all the games. I stamped Fluffy Cats several times using Archival Jet Black ink by Ranger, on white cardstock, using my Misti. Then I used my Scan N Cut by Brother to cut them all out. Easy Peasy! Although the Scan N Cut got a bit wonky on some of the cats by cutting off their noses, I did manage to get most of the cats in the stamped images.
Tic Tac Toe / Tic "Cat" Toe Game
The rules for Tic-Cat-Toe are simple. The game is played on a grid that is 3 squares by 3 squares. You are one color of cat and your friend is the other color. Players take turns placing their cats in an empty square on the grid. The first player to 3 of their cats in a row - up, down, across, or diagonally - wins the game.
For the grid, I first tried using a black marker and a ruler but no matter what I did, it looked wonky. So I jumped on Etsy and found THIS digital TIC-TAC-TOE set. For only $.88 it made my life so much easier. I printed 4 to a sheet of white cardstock and then die-cut them using both a stitched square die and a stitched rectangle die.
CAT-Checkers Game
There are 3 important rules when it comes to checkers.
- Checkers can only move diagonally on dark squares.
- At the start of the game, checkers can only move forward, meaning toward the opposite player's side.
- Checkers may move up and down when they become "kings" by reaching the last row of the opposite side.
We are ready to play. Give 12 white cats to one person, 12 black cats to the other, and let the game begin.
Backgammon or Cat-Gammon
The rules of Backgammon are too much for me to type here. Below is a screenshot of the rules and, if you want more info, head over to THIS website for more info.
What I do know is this:
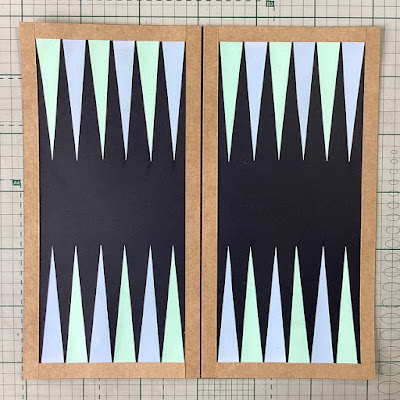
- the board has 24 narrow triangles called points.
- they alternate in color.
- I need 24 points as there are 6 in each of the 4 quadrants.
- the two sides are separated by a ridge down the center of the board called the bar.
- each player has 15 "checkers"/ "cats" of his own color.
- I scored a piece of black 12" x 12" cardstock at 6".
- Using scraps of Kraft cardstock, I cut 4 strips at 1/2" x 12" and adhered them on each side of the score mark and along the right and left sides of the board.
- Then I cut 4 strips at 1/2" 4 7/8" and adhered them along the top and bottom of the board.
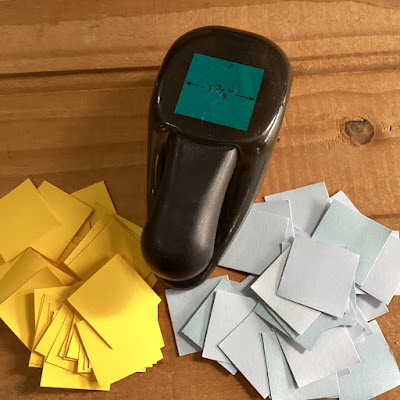
If you are using a solid color, you don't need to erase any marks because you can use the reverse side. If you are using a pattern, make the marks on the reverse side and then cut. Just make sure that you have 12 of each color or pattern.
We are ready to play. Give 15 white cats to one person, 15 black cats to the other, roll the dice, and let the game begin.
And, there you have it - a bit of my zany brain working overtime. I had so much fun making these game ideas and I hope you laughed a bit if you have read this far. This Fluffy Cats stamp is part of the February New Stamp Release from Technique Junkies and you can save 10% at checkout by using my code - TJ10Michael.


.jpeg)
.jpeg)
Comments
Post a Comment