Faux Suede - My First Tutorial
Thank you Julie for allowing me to get this technique out to others. This is my first tutorial so I hope it's okay and understandable. Now, on to what you need to do....
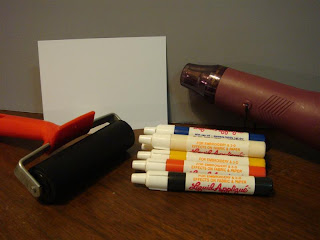.jpg)
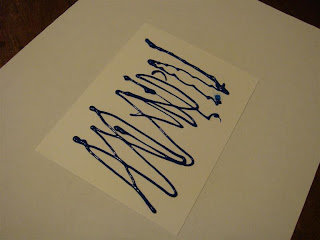.jpg)
Then, using your brayer, roll the liquid applique across the whole card stock and cover the entire surface. It will not come out perfect and you will have imperfections. I feel this just gives it more of a suede, vintage, or distressed kinda look.
.jpg) Your card should end up looking like this.
Your card should end up looking like this.
.jpg) Now use your heat gun to heat the liquid applique until it is set and dry. This will not take long.
Now use your heat gun to heat the liquid applique until it is set and dry. This will not take long.
This is the finished product. I hope the photo shows the texture of the card. It will look and feel like suede. It's really cool.
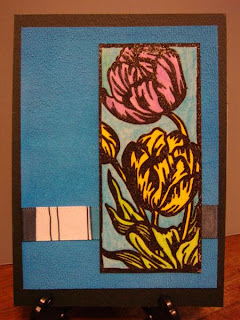
.jpg) Below are some samples I made. I hope you like this technique, use it, and pass it on to others.
Below are some samples I made. I hope you like this technique, use it, and pass it on to others.
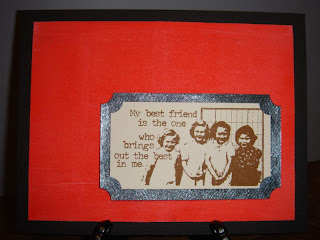.jpg)
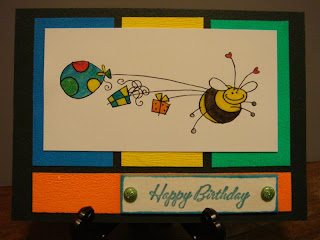.jpg)
.jpg)
.jpg)

.jpeg)
.jpeg)
Hey Michael!
ReplyDeleteI had to come back to see how it all turned out. I LOVE the blue color you used! I only have tan and white in my stock pile. Thanks for trying this and taking it to a whole different level. You rock!
Michael, Michael, Michael!!! You have done it again. I LOVE your easy tutorial and love the cards you did even more!!! Great job my friend!
ReplyDeleteGreat tutorial Michael. I've never tried this, but it looks like fun! :)
ReplyDeletehow easy, and fun! love your cards, they are so bright and cheerful!!
ReplyDeleteGreat tutorial Michael! Btw, I saw a sample you made with the inkadinkadoo flowers on embossed or patterend grungeboard that's up at The Inkpad. Totally loved it!
ReplyDelete:-)
Oi Michael...maravilhosos teus cartões, a combinação de cores é perfeita, olhar os teus trabalhos e os da Márcia só me enchem de alegria.
ReplyDeleteParabéns!
Abraços
Mara - Grupo Arte em Papel
Michael, this is a fabulous tutorial! Thank you so much for sharing this technique with us. I'll have to give it a try.
ReplyDeleteMy freind Fabrizio pointed me in the direction of your blog, glad he did, some very cool stuff here. Love your tutorial, looks like good messy fun with a fabulous end result.
ReplyDeleteVery cool technique!!! I am going to have to try that one!!
ReplyDeleteI've just discovered your blog Michael & love this tutorial, your examples are stunning too - TFS!!
ReplyDeleteAnn ^'^