Monday, October 31, 2016

Happy Halloween - Witch's Shoe with Bugaboo Stamps


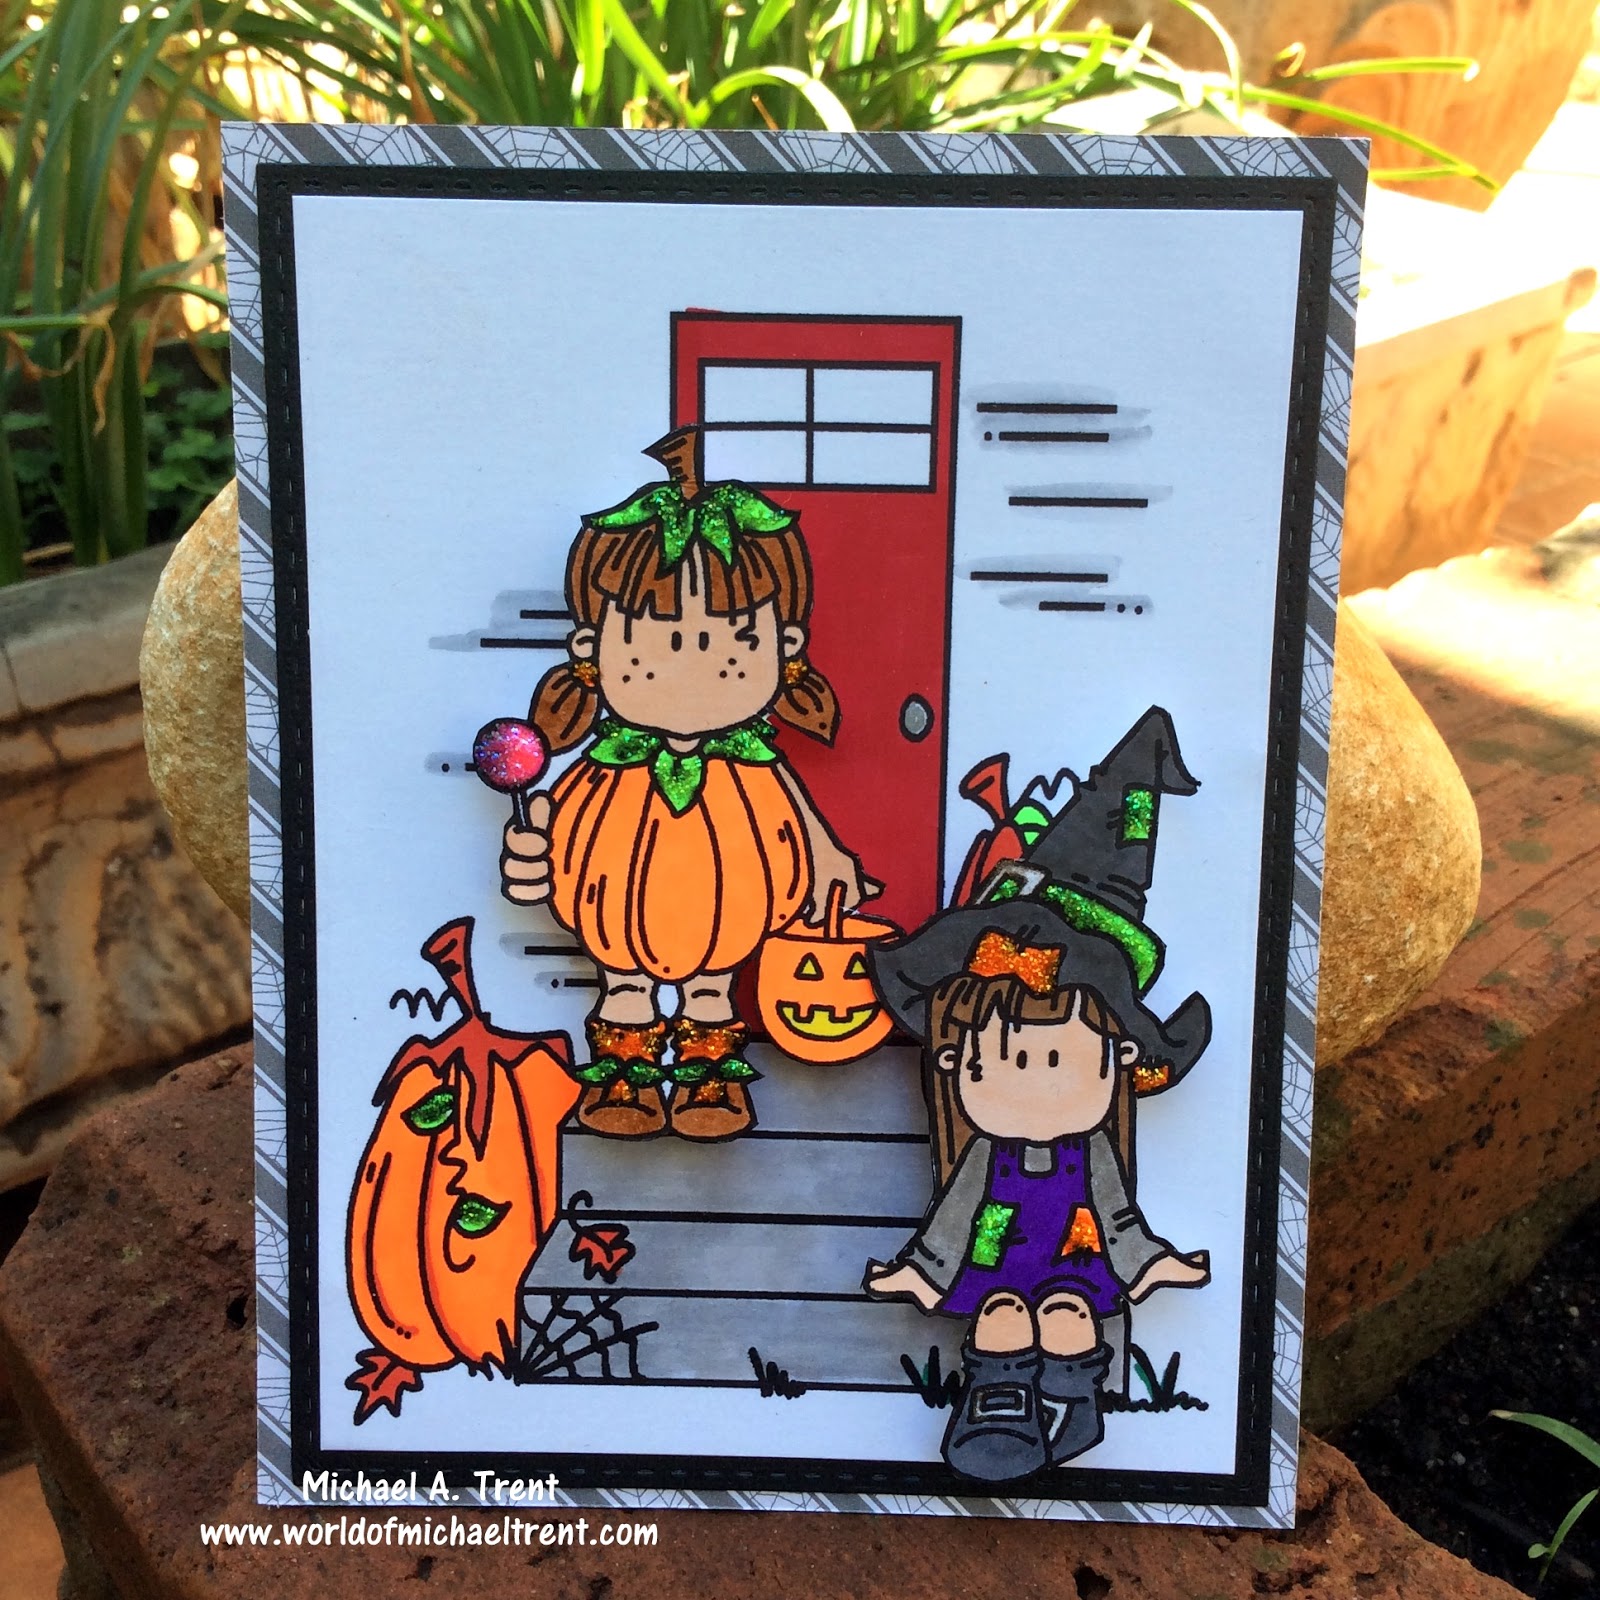
Happy Halloween everyone!!  I have to admit that I miss this holiday a lot - mostly the decorations, trick or treating with my nieces, and candy corn!!  I always bought a bag of candy corn because just seeing it made me want it so badly but, after eating the bag, I was done for the year.  LOL

In honor of Halloween I have a quick card I made using the Witch Shoe by Bugaboo Stamps.  I sized the image to about 4.25" x 4.25" and printed it on white cardstock.  Then, using Grand Squares (LF-126) by Spellbinders, I cut and embossed the image using the die that measures 4 9/16" x 4 9/16".  Then I used the next larger die and cut and embossed a piece of black cardstock.  

I colored in the image using two Copic markers - Fluorescent Dull Y/G Copic (FYG2) and Chrome Orange (YR04), and 3 Bic Markers - Fandango Pink, Sunset Orange, and Stone Grey.  I then went and applied some Orange Peel, Glam Pink, and Firefly Stickles to certain areas of the shoe and set it aside to dry.  

While it was drying I made my card base - 6" x 12" with white cardstock.  I then adhered a piece of decorative Halloween paper to the card front.  Then I adhered the black cardstock to the decorative paper.  Once the image was dry, I stamped the Happy Halloween phrase (Michael's) under the shoe, adhered it to a piece of black fun foam, and then adhered this to the black cardstock.  

Done!!  Of course, since today is Halloween, I will have to hold this until next year to send out to someone.  Sigh....

Enjoy your Halloween everyone.  Stay safe and watch the kids if you are taking any Trick or Treating!!  Until next time - 

Hugs from Brasil - 

Michael

Saturday, October 29, 2016

Snowman Shaker Card with Memory Box


Hello everyone!  I hope your weekend is going well so far.  Today I wanted to share another shaker card I made using the Snowman Collage die by Memory Box.  As you guys know I was bitten by the shaker bug and as soon as I saw this guy I knew it would be perfect as a shaker.  

Let me show you how I made this guy - 

I started with a top folding A2 card base of red shimmer cardstock.  I cut a piece of white cardstock, 4" x 5.25", and centered the whole die on the cardstock and cut it out.  I love the way this die is packaged because you don't need to cut all the pieces apart and you have less chance of losing any of the dies.

  
I then went back and cut all the little pieces using black, green, orange, and red cardstock -   


and assembled the snowman by gluing down the pieces.  


Then I cut a piece of acetate and glued it behind the snowman.  You do not want your little sequins and beads falling out.  


I turned it over and stamped my sentiment.  


Then I went and adhered double sided foam tape all around the window part so that none of the sequins and beads will leak out of the shaker card.


I rubbed the inside acetate and around the sides of the foam tape with my anti-static bag that I use when embossing. This removes the static and will allow your sequins and beads to not stick to the tape.  Then I slowly added sequins and micro beads on top of the acetate.


The last thing I did was to slowly remove the tape backing and then I placed my card base down on top and rubbed well to make sure the tape stuck well.  I also cut a piece of white cardstock, 4" x 5.25" and adhered it to the inside so I had somewhere to write.  

Done!


I hope you enjoyed this card.  This snowman shaker card is great, not just for a Christmas card, but for as an all around holiday card.  Let me know what you think!  Until next time - 

Hugs from Brasil - 

Michael

Friday, October 28, 2016

Save The Turkeys/Autumn Colors for Stamp Ink Paper and Retro Rubber Card Challenge Blogs


TGIF everyone!!  Today is the first day in about a week that we have no rain, the sun is shining bright and there are fluffy white clouds in the sky.  It has poured every night this week with major thunder and lightening too.  And, of course, electric on and off.  But it looks like it's going to be a great weekend.  

I cannot believe it is almost Halloween!  This year has flown by.  Although this is not today's card, I wanted to share a Halloween card that I made the other day. I used a new Prima doll image called Bootiful, some really old QuicKutz dies of a cemetery and bats, and a giant moon out of yellow glittered fun foam.  


Now for today's card, which is perfect for two card challenges going on.  This week's Stamp Ink Paper Challenge #71 had some funky colors to work with - mint, rust and mustard - perfect autumn colors.  


And the Retro Rubber Challenge #50 - is Fall colors!  Perfect.  One card for two challenges.  


I used the cutest little turkey image (and a phrase) from "Save the Turkeys" by Sweet N Sassy Stamps.  I have owned this baby for over two years now but it is still available to buy on her website.

I started with a top folding A2 white cardstock base.  I found an great plaid autumn paper from The Ghosts & Goblins Matstack by DCWV, which I adhered to the card front.  Then I found mint, rust, and mustard cardstock in the Harvest Gathering Matstack.  Using the 3 largest dies from the Pierced Rectangles STAX, I cut the rust with the largest die, the mustard with the next size down, and the mint with the smallest of the 3.  I also die cut some fir trees and pumpkins using two dies by Impression Obsession - Fir Trees (DIE084-V) and Pumpkin Patch (DIE202-G).  Lastly, I stamped the turkey and the phrase on a piece of white cardstock and fussy cut him out.  


I adhered the 3 layers to the card front.  I then distressed the edges of the trees with Vintage Photo ink and adhered them on top of the colored cardstocks.


Lastly, I colored the turkey with various copic markers, adhered him to the card front with pop dots, and then adhered some of the pumpkins on each side of him.  I glued some down and a few I used a pop dot behind it.  


That's it.  Done!  I wasn't sure how to use the mint (which looks blue here) but I decided to use it as the background sky.  I think it all worked out well.  I hope you guys liked both cards today.  

To enter a card in the Stamp Ink Paper Challenge, click HERE!

To enter a card in the Retro Rubber Challenge, click HERE!

Feel free to leave me a comment below on what you think of the cards.  Hope everyone has a great weekend!  Until next time - 

Hugs from Brasil - 

Michael

Monday, October 24, 2016

Easy Speech Bubble Cards with Character Constructions


Hello everyone and Happy Monday!?  I hope everyone has a nice weekend.  We had Ruy's nieces here (Gabriella and Marina) for the weekend.  Saturday they acted as his models in his photography class and yesterday we got to drive them back to Sao Paulo.  And I got to get some Chinese food!!  It is not easy finding my favorite food here.  The temperature here also dropped and we had a few cooler days.  But it will not stay this way.  LOL.  Overall....a nice weekend.

Now, about today's cards.....last week I was catching up with my friend Elisa and she told me she was working on some projects for her new yoga studio using stamps from Character Constructions.  I have a box on my work area with stamps and dies that I have ideas for but need the time to get them out of my head.  One of the stamps in the box is from Character Constructions - called "Theatre of Dreams 18" from her Theatre of Dreams Catalog.   I have gone to use this image so many times it's not funny but, for whatever reason, I got sidetracked.  But talking to Elisa made me get this out and use it....finally!!

The image is supposed to be of people sitting in the audience of a theatre.  But I also see a throng of people walking on the street...to work...to the subway...etc. But I always saw these cards with speech bubbles.  And they are so simple to make.

For these 3 cards I started by stamping the image a few times using black ink on white cardstock.  


For the first card, which is the card at the top, I trimmed one of the pieces of white cardstock with the image to 4" x 5.25", which I adhered to a piece of black cardstock, 4.25" x 5.5", which I then adhered to the front of an A2 card front.  I then stamped the "hello" speech bubble (Scrap Goodies) on the front.  


Done!  Now, come one, that is easy!  LOL

For the 2nd card -


I started with an A2 card front of white cardstock.  I adhered a piece of decorative paper, 4.25" x 5.5", to the front.  Then I trimmed one of the images to 3.75" x 5", adhered this to a piece of black cardstock, 4" x 5.25", and then adhered this to the card front.  Then I die cut one of the speech bubbles from Conversation Bubble Two by Spellbinders, stamped the "thanks" (Scraplooving) on to the speech bubble, and then adhered to the card front using pop dots.  

For the 3rd card - 


I started with a top folding A2 card base of white cardstock.  I adhered a piece of decorative paper to the front.  Then I trimmed the last image to 3.25" x 3.75", adhered to to a piece of pink cardstock, 3.5" x 4".  I distressed the edges of the pink cardstock and adhered this to the card front.  Then I stamped the "happy birthday" speech bubble (Hero Arts), fussy cut it out, and adhered it to the card front.  I then glued some crystals to the speech bubble and the corners of the image.  Done!! 

I have to admit that I like the hello card the most since it's black and white only. But I can see so many options with this image and one speech bubble of your choice.  Let me know what you think about these cards by leaving a comment below.  Hope you liked them all.  Until next time - 

Hugs from Brasil - 

Michael

Wednesday, October 19, 2016

Halloween Skull Shaker Card with Stampendous


Hello everyone!  It's getting really really hot here.  Monday, at 3 p.m., it was almost 110F and the air was not moving.  I love the heat and summer but this is way too early.  Summer does not start for another 60-ish days.  


Well, making another card for Halloween was not really on my list this week. But while looking through a stack of my unused stamps I came across this rocking Skull Stack by Stampendous, which has been sitting in my stash for a few years now, and I had to finally do something with it.  So I made my first ever shaker card!

I am entering this into two card challenges.  The Stamp Ink Paper Challenge blog has Challenge 70 - Tic Tac Toe


And the Retro Rubber Challenge Blog has Challenge 49 - Boo!


Now...to make the card - I started with a top folding A2 card base of white cardstock.  Then I stamped the Skull Stack (retired) by Stampendous on a piece of white cardstock with black ink.  Using the 2nd largest die from the Stitched Rectangle Stax by MFT, I die cut the part of the image I wanted to use.


Next I placed the two largest dies from the same set onto a piece of black cardstock and die cut them.  This gives me my frame for the window of the card.


Next I cut a piece of acetate using the largest rectangle die.  I also picked a piece of decorative orange paper from Thrilling by Authentique and a phrase from another piece of decorative paper from the Ghosts & Goblins Matstack by DCWV (both from my stash).


Next I adhered the orange paper to my card front, adhered the cardstock with the skulls to the orange paper, glued some small googly eyes to some of the skulls, and placed some black and purple sequins and some orange and purple beads on top of the skulls.  Next I glued the acetate to the back of the black frame and then adhered double sided tape to the back of the acetate.  


Once the googly eyes were dry, I flipped the window frame over and adhered it over the skulls.  Then I adhered the phrase to the left of the window.  


And the card is done!  I love how the sequins and beads sometimes get trapped within the skulls and drop down like a pinball machine.  LOL  


I don't know why I was mentally blocking shaker cards.  For some reason I thought they were more time consuming than they really are.  This was so much fun to make.  Of course now I have other ideas in my head.  Hmmm, are there any shaker card Christmas challenges coming up??  LOL  I hope you liked this card.  Feel free to leave a comment below and, until next time - 

Hugs from Brasil - 

Michael

Sunday, October 16, 2016

Retro Rubber Challenge 49 - BOO!


Happy Sunday everyone.  We set our clocks ahead one hour this morning so I lost an hour of sleep I will never get back. LOL.  I hope today does not drag.  I have another Halloween card for you today.  This time for the new card challenge over on the Retro Rubber Challenge Blog.  This is Challenge 49 - Boo! aka Halloween - 


The stamp I used for this challenge is from Too Much Fun Rubber Stamps.  I bought it yearsssssssss ago at a rubber stamp show.  The link to their online shop is not working for me right now so I cannot give a direct link.  I apologize for that but I believe they are still selling it.    

I started with a top folding A2 card base of white cardstock.  I adhered a piece of textured black cardstock to the card front.  Then, using the large die from Bundle of Stitched Shapes, I cut a piece of Halloween paper from the Eerie paper pad by Basic Grey (old too) and adhered that to the black cardstock.  I love the design because it looks like a scary forest and I do not need to stamp any background.


Then I stamped the image of the kid dressed up as a ghost onto white cardstock, colored him in and fussy cut him (or her) out.  I also stamped the phrase in Versamark and heat embossed it with white embossing powder.


The last thing I did was to adhere the stamped image next to the phrase, "Happy Haunting" (retired) by A Muse Art Stamps.  


This was such an easy card to make and I am really happy that I finally put some ink to this stamp.  Leave me a comment below and let me know what you think.  Also, you have until October 21st to add your own project to this challenge.  Just click HERE to be taken right to the challenge page.   

I hope everyone has a great weekend - at least whatever is left.  Until next time - 

Hugs from Brasil - 

Michael

Saturday, October 15, 2016

Happy Halloween With Bugaboo Stamps


Hello everyone!!  I hope everyone has been well.  I've been having some fun making some Halloween cards.  I do miss this time of the year with the leaves changing colors, the air getting crisp, apple and pumpkin picking.....sigh. Although Halloween is not celebrated here like it is in the states, some people here do have parties and lots of dressing up goes on. But no trick or treating or decorations on the houses.  

For today's card I used 3 digi stamps from Bugaboo Stamps.  I started with a top folding A2 card base of white cardstock. I adhered a piece of decorative paper with a spider web theme to the card front.  I then die cut a piece of black cardstock with the large rectangle die from Bundle of Stitched Shapes by Simon Says Stamp (I love the stitched border) and adhered this to the card front.  If you don't have the die you can cut a piece of black cardstock to 4" x 5.25".

Then I printed the Halloween Steps, Hween Brat Witch, and Hween Brat Pumpkin on a piece of cardstock.  I trimmed the steps image to 3 3/4" x 5", colored it in with a mix of markers from Sharpie, Tombow, and Copic and adhered it to the black cardstock.         

Next I fussy cut the two Brat images, colored them in, put some pop dots behind them and adhered them to the card front so it looked like they were on the steps waiting for candy.  

The two Brat images with pop dots on the car front.
The final step was to apply some Firefly, Orange Peel, and Glam Pink Stickles to the images in various places.  Here is the card before I applied the Stickles - 


And after - 


That's it.  Done!  As many of you know, I love these images by Bugaboo Stamps.  Bugaboo is having a sale on all Halloween/Fall images - 25% off - so if you love them as much as I do, go and grab them.  Click HERE to be taken right to the sale page. (I do not earn anything from this - just passing on the info).  

I hope you enjoyed this colorful Halloween card.  Let me know by leaving a comment below.  I'll have a few more cards in the next few days.  Until next time - 

Hugs from Brasil -

Michael

Monday, October 3, 2016

Retro Rubber Challenge #48 - Tie Me Up! - Wedding Card with Gina K Designs


Happy Monday everyone!  I hope y'all had a nice weekend.  This past Saturday we went with some friends to an ecological park in Campinas that used to be an old fazenda (farm) called Fazendo Mato Dentro.  It was formed in 1806 initially as a sugar plantation and later as a coffee plantation.  It was transferred to the state in 1950 and is now a free park and a biology institute.  

Part of the park.
The original house.

Part of another building that was used to store the coffee.
I think this would make a great art studio.

Today I am playing along with the gang over at the Retro Rubber Challenge Blog.  This is Challenge #48 - Tie Me Up! and, no, it's not about 50 Shades of Grey but it is all about using lace, ribbon or twine.  


A friend of mine has to go to a wedding and she asked me to make her a simple wedding card for her gift.  I knew that - years ago - I had bought a wedding set called I Do! (retired) from Gina K. Designs - that I had yet to use.  I had to go through several boxes but I finally found it!  

I started with an A1 top folding card base of white cardstock.  I found a piece of patterned paper in a 6 x 6 paper pad called Black Tie by Making Memories.  I cut it 4.25" x 5.5", wrapped a piece of white organza ribbon around it, making a knot, and adhered it to the card front. 


I started with the Pierced Rectangles STAX by My Favorite Things.  With the 5th largest die, I cut a piece of black cardstock.  Then, with the 6th largest die, I cut a piece of white cardstock.   I stamped the images on the white cardstock with Versamark ink, heat embossed them with Black Sparkle embossing powder by Ranger, and then adhered the white cardstock to the black cardstock.


Next I put some pop dots behind the black cardstock and adhered the piece to the card front.  Lastly, I adhered some crystals to each corner, two white flowers near the knot, and a crystal on the knot.  


This was such an easy card to make that I made a bunch to have on hand for other people.  If you want to enter a card in the Retro Rubber Challenge you have until October 7th.  Just click HERE to enter your card!  Until next time - 

Hugs from Brasil - 

Michael

Happy (Pizza) Pi Day | Sketch Challenge 19 with Tawny Owl Paperie | Inky Inspriation

Hello everyone and Happy Pi Day.  For many, Pi means 3.14 or 3.141592653589793238462643383279502884197.  But, for crazy cardmakers like me, ...